Making cheap-ass shelves look somewhat classy…

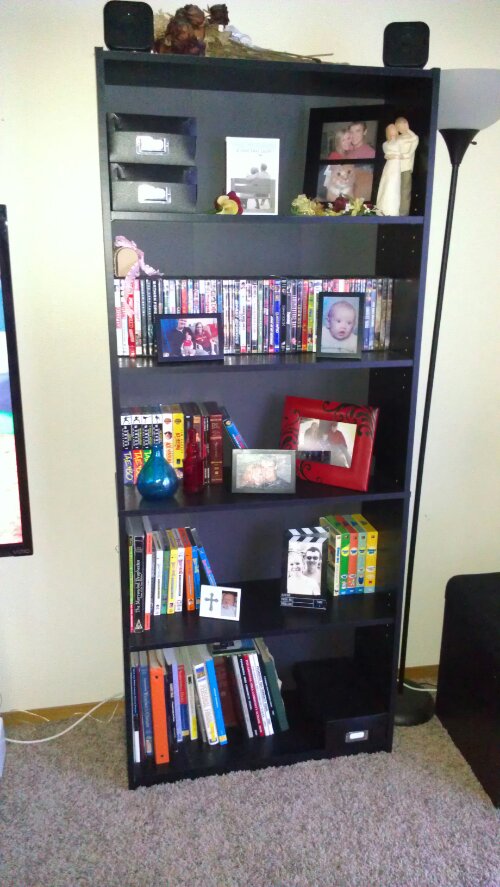
My husband and I bought these shelves from Walmart about 3 years ago when we lived in our last apartment (we were cheap and still are) for about $25 a piece. We bought 2 and put them on either side of our tv stand.

image

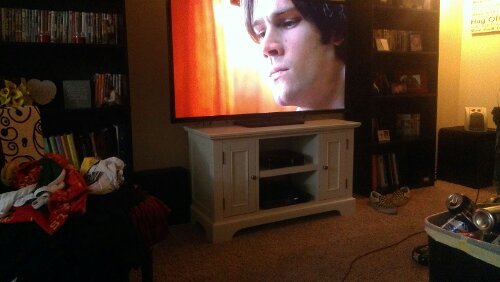
I recently earned enough Amazon gift cards to purchase our new tv stand

image

(yeah, that’s Supernatural and our living room was a mess)
so I decided I needed new shelves to go with it. I wanted white shelves and couldn’t seem to find any that matched the stand without paying $200 per shelf. I’m too cheap for that, so I decided to just revamp these. Here is what I did:

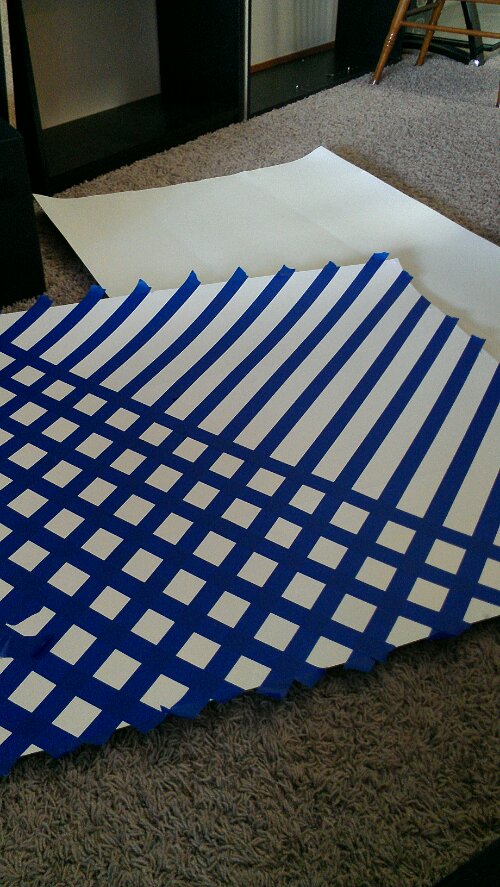
I pulled the backs off the shelves and painted them the same color of white as the tv stand. I used painter’s tape to make the design I wanted.

image

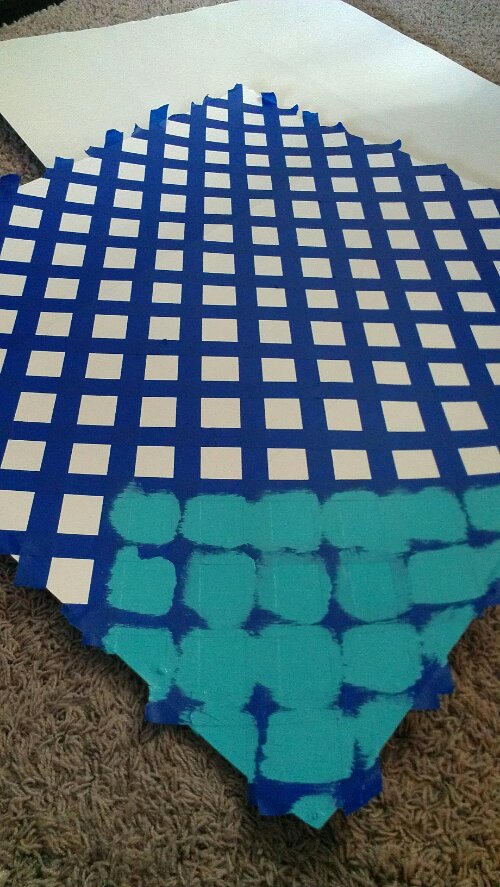
Next, I painted them the same color as my coffee table that I posted about.

image

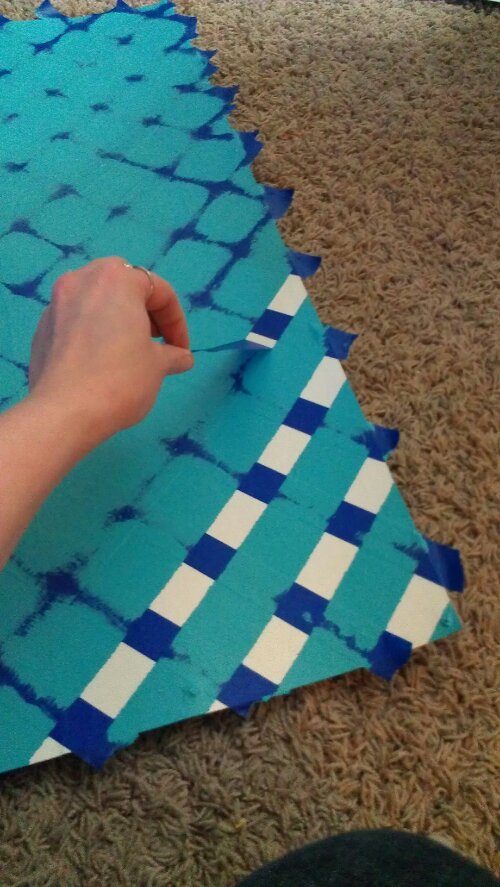
I pulled the tape off after the paint dried.

image

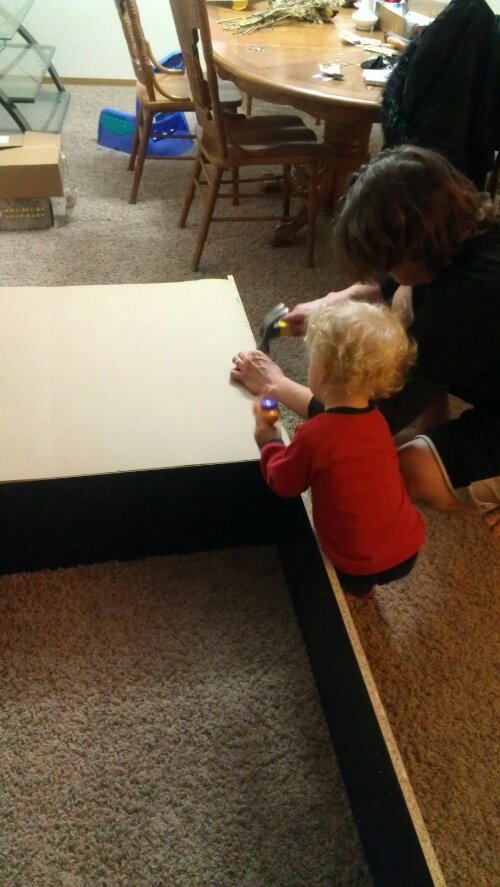
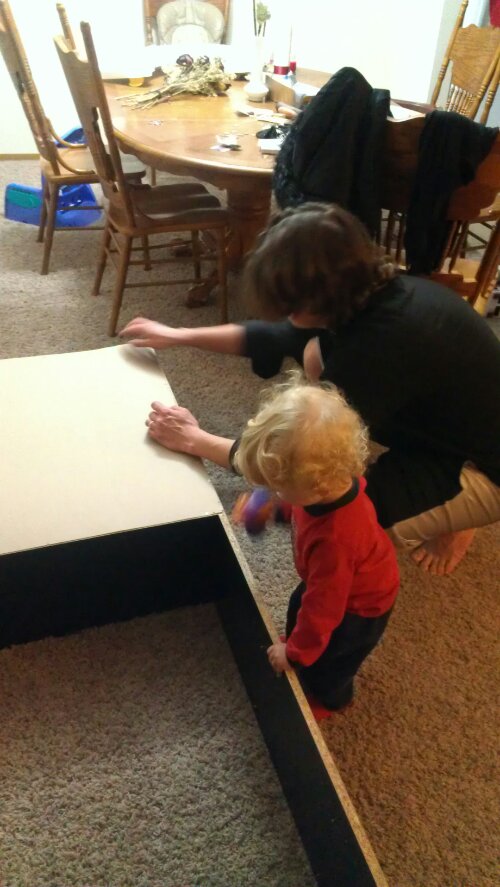
Then my husband (and his handsome 2 year old assistant) nailed the backs in place again.

image

image

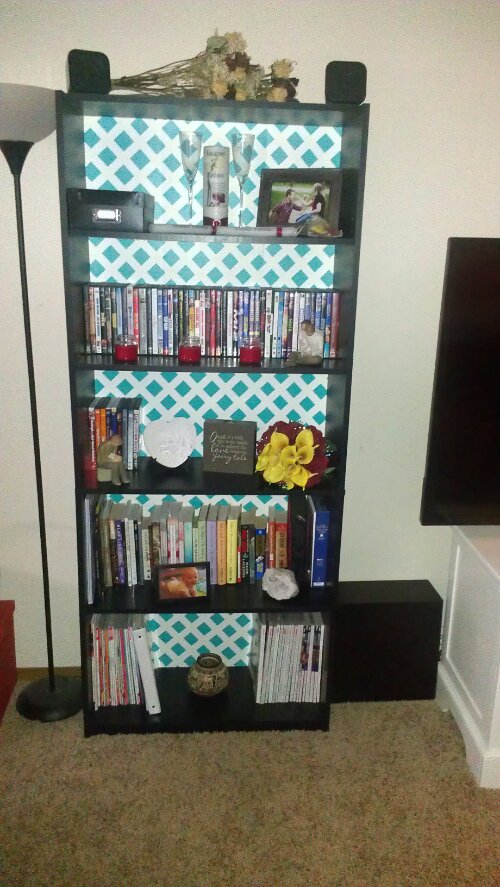
I love how these turned out!

image

Made Over Coffee Table

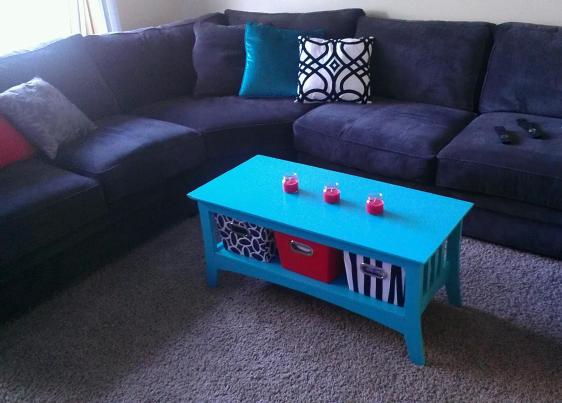
I just wanted to post a picture of our coffee table that I redid several months ago, before I’d ever considered starting a blog.

My mother bought this coffee table for my husband and I about 5 years ago when we were still dating and kids were not even a thought in our minds.  She bought it at a garage sale for $1.50!  It was stained wood and was pretty beat up but at that time we didn’t care because we just wanted a coffee table!  After moving in here I decided it could really use a makeover since we were actually trying to make our apartment feel like a home!

I love my “new” coffee table!

Homemade Carpet Powder

We’ve been caring for our friends’ rabbit for a couple months now.  They’re not allowed to have him in their current apartment, so we’ll have him until they can move in to a pet-friendly apartment.  We used to have him in our dining room, but when our dining room got its makeover, I moved him to our son’s room.  Our son just loves to play with him and hang out with him.  Of course his room is more confined than the open space of our dining room, so I started to notice that he really made the room smell more than he did in the dining room.  I wanted to find a way to help with the smell without having to move him back to the dining room.

I found a post on Pinterest for this homemade carpet powder so I decided to try it.  It’s supposed to help eliminate pet odors in the carpet.

All you have to do is mix baking soda (I used an entire 16 oz box because it fit in the container perfect) with a few drops of essential oil (I used orange).  I would just use your own judgement on the oil. I wisked them together in a bowl and then spooned the mixture in to an old parmesan cheese shaker.

Well, after making the powder and sprinkling it on the floor, waiting (WAY longer than I needed to, but I got distracted) about an hour and then vacuuming up the powder, his room smelled amazing!  I couldn’t even tell the rabbit was there!  Even a day later I can hardly smell the rabbit.  This stuff did an amazing job and it was CHEAP!

I bought the 16 oz box of baking soda for $.50 and the essential oil I’ve had for a while.  I used about 1/3 of the container in my son’s room, which is 10 ft x 11 ft.  Depending on how long it lasts, I plan to do this a few times a week.  I’m still just shocked that this was all I needed to make my own carpet powder.  The real stuff can get so expensive!

Next, keep an eye out for my post on homemade “Cream of Something Soup” dry mix!

What Else Are Ceramic Plates Good For?

My dining room has always been my least favorite room in the apartment because I could never decide what to do with it to make it look good and it’s always been so cluttered.  Here is what my dining room looked like for a long time:

My desk was there on the left, along with my shelves that held all of my crafting supplies, another shelf with a wine rack and some random knick-knacks, and our friends’ rabbit (we’re caring for him until they can move to a pet friendly apartment).  I’ve never been the biggest fan of the mirrors on the far wall, either.

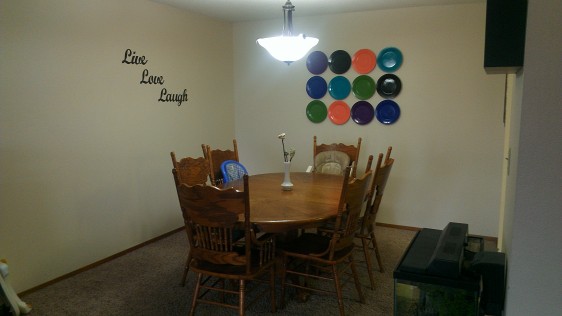
I moved my desk to our bedroom, moved the shelf with the crafts further down the wall so it’s now where the desk sat, changed the drawers (again, neutrals….), got rid of the shelf in the corner, and moved the rabbit to my son’s room.  Now our dining room looks like a dining room!  I took the mirrors down and couldn’t figure out exactly what I wanted for a while.  Then one day it just dawned on me, and this is the project I started….

I bought a dozen white ceramic plates on Amazon for $24.  A week later I found out I could have just gone to Dollar Tree and gotten 12 white ceramic plates for $1 each….grrrr.

I painted them the same colors from my kitchen.

I went to Hobby Lobby and purchased plate hanging hooks and hung them on the wall.  I LOVE how it turned out, and it ties my dining room in with my kitchen!

Now I just need to figure out what I’m going to do about that “Live Love Laugh” wall….

I’m in LOVE With My Kitchen….

With all of my kitchen projects I’ve been working on lately, I just thought I’d share how my kitchen is coming along.

When we moved in, we didn’t have anything hanging on the walls of our kitchen for the entire first year we lived here because I just couldn’t decide what I wanted to do. I eventually decided I wanted to do purple and green florals:

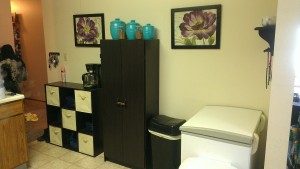
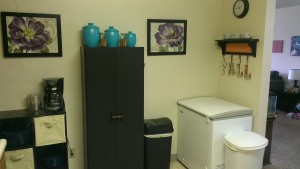
I liked this for a while, but then decided I wanted more color (I know, I’m a typical woman, I can’t ever make up my mind).  You may remember my canisters that I painted.  I added them to the room, removed the green drawers (I was never the biggest fan of them anyways, I like to stick with neutrals) and put my navy ceramic dishes in place of them, and then added the peach shelf.  I’m quite happy with it so far.

(No, no one is smoking in my apartment, that’s my humidifier on the left counter…Haha)

I’m loving the color combinations!  Here’s what the other side of my kitchen looks like:

This is the boring side of the kitchen. It’s looked like this since we moved it.  I feel like I can’t do much with it (since we live in an apartment and I can’t update cupboards or appliances) other than hang something on the wall above the sink or stove, which I think I may do, I just need to find the right project first…

My New Kitchen Shelf

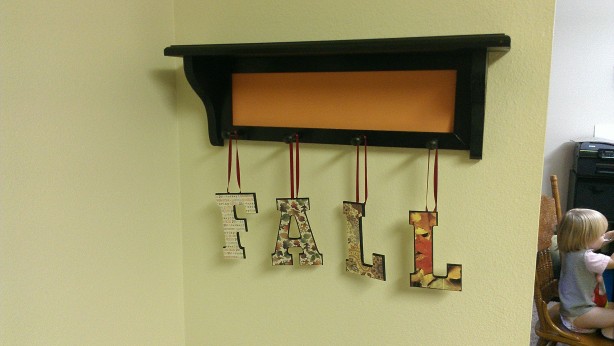
I have to admit when I did this next project, I was just LOOKING for a new craft project to do.  I found this shelf at Hobby Lobby and it was just unfinished wood (I apparently didn’t take a picture before I started painting).  It was calling my name!

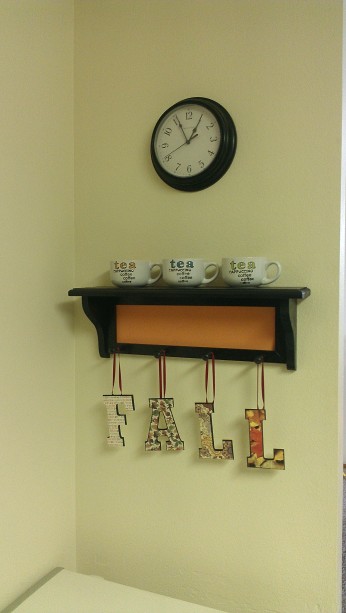
I painted the shelf black and painted the middle of the shelf peach since that was a color I’ve been wanting to incorporate in to my kitchen.

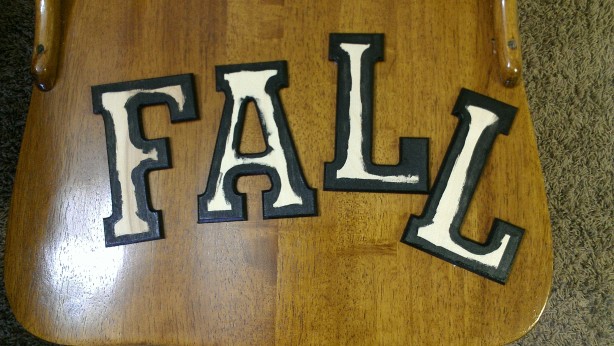
I purchased the FALL letters at Hobby Lobby and painted the edges of them black to start with.

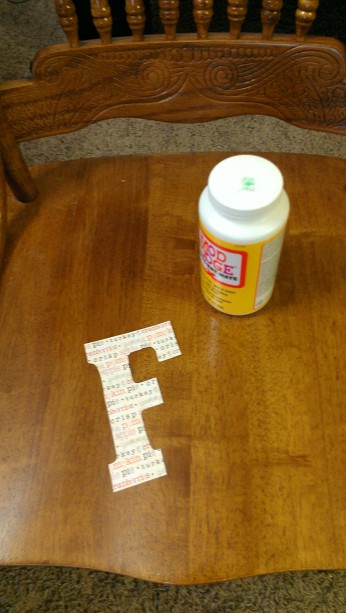
I also purchased several pieces of Fall themed scrapbooking paper.

I used the wooden letters to trace on to the paper and then cut the letters out.  I then mod-podged the letters on to the wooden letters and added a ribbon to hang the letters from the shelf!

I also ordered these tea mugs from Amazon to put on my shelf.

I only put half of the mugs on the shelf and the other half in my cupboard since it looked cluttered trying to fit more than 3 on the shelf.

I love how it turned out!  Now as soon as it snows, I have another excuse for another DIY project to make my SNOW letters!

My New Favorite Wall!

I’m so excited to start sharing my DIY projects with you!

After rearranging our living room so it would be more open, I decided I wanted to update the picture grouping I had up behind the couch.  My style has apparently changed a lot since we moved in because I’ve thought this grouping was pretty boring for the last few months, but when we moved in I loved it!…..This is what I had before:
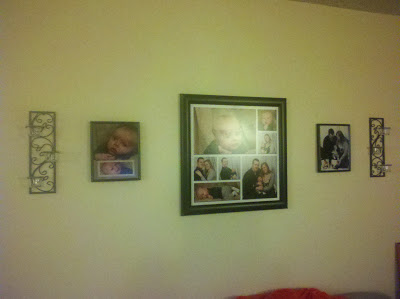
These pictures are from when Bryson was 6 weeks old and he’s now 21 months old….I think we need some updated pictures.  Of course the plan was to get yearly photos done and to update the wall each year, but Brian and I are the worst procrastinators in the world…..our baby is almost 2 and we haven’t gotten his 1st year pictures done yet….

After rearranging the living room and having a blank canvas again, this is what I came up with….

I know, it’s awful lighting, but we have no light in our living room other than lamps. Ignore the newspaper in the middle of the wall, it’s just holding the place of a 16 x 20 canvas that I haven’t ordered yet, because I’m waiting for a really good family picture to be taken….we should probably do that soon.

Left side of the wall

Right side of the wall

I purchased the letters of “Love” and “Family” from my local Hobby Lobby and then painted them the colors I wanted.  I also purchased the “D” and hung it as it was.  The one DIY project I wanted to mention in this post was the wooden decorative blocks scattered throughout the grouping.

I found a post on Pinterest for this project. First, I went to Hobby Lobby and chose 5 pieces of scrapbooking paper that I liked and that matched my living room.  Then I had my husband cut out 5 pieces of 12 x 12 plywood that we already had in storage and had gotten for free, so this didn’t cost me anything!
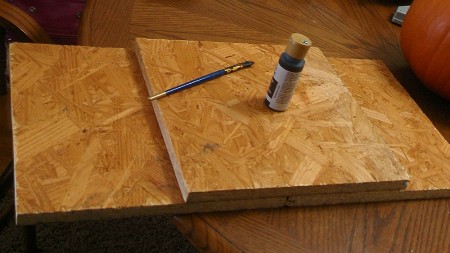
I then painted the edges of the plywood black.

I mod-podged each piece of scrapbooking paper on to a piece of plywood.

After lettiing the mod-podge dry, I flipped each piece over and placed 2 Command Picture Hanging Strips on the back and then hung them up in each desired space.

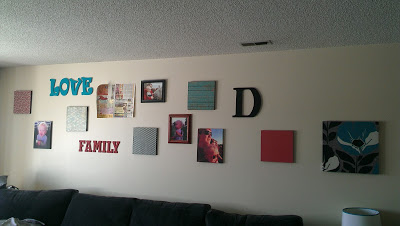
I absolutely love how this wall turned out and I’m strongly considering adding more to fill in the space above the flower canvas, but of course that will have to wait until after Christmas…
Ugly Brown Canisters…

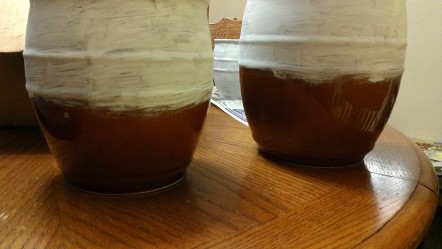
My husband, my brother and I went out to our storage unit one Sunday a few weeks ago to downsize some things. I found these flour/sugar canisters that I’d forgotten I had.  We got them as a gift at our wedding, but didn’t have room for them in our last apartment.  They were also an ugly brown color, so I was never the biggest fan.  I brought them back to the apartment and primed them.

Then painted them the color I wanted them (followed by a clear coat).

I let them dry overnight.  I did not paint the inside of these canisters, so I can still use them to hold things such as flour, sugar, and whatever I choose to put in the little one, but unfortunately I cannot wash these.  They will have to be wiped out with a wash cloth.  A small price to pay for not having to look at the ugly brown anymore, I suppose.

After they’re all finished.  I love them!  They look so good in my kitchen and really stand out!